The Groups Screen is part of the Content Manager's security features. Groups allow an Administrator to control the level of access that other users have to the editing features. (See Introduction, Types of Users for an explanation of user account types.) For example, you may wish to restrict a user to making changes to only a few pages relating to his or her role.
Groups are most often used on larger websites where there are many people editing the site. Groups allow for division of the pages within the site, assigning only certain groups of pages to certain groups of people, providing restrictions on who can edit what.
On smaller websites editing by only one or two people, Groups are not needed. Instead, all user accounts can operate with Administrator access. Administrators are not affected by Group membership; they have full access to all pages regardless of the permissions they are given.
To create a new group, hit the New button within the Groups tab.
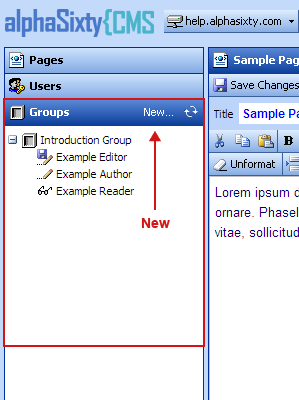 |
| 'New...' group button |
In the New Group Wizard, type in the Group Name and hit the Next button. (You can provide optional comments that provide more information about the group.)
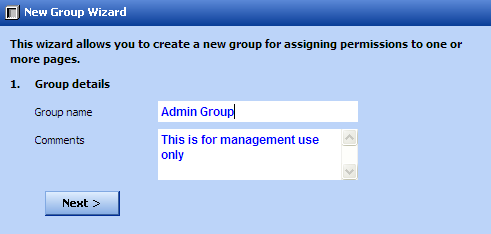 |
| New Group Wizard step 1 - Group Details |
On the Members screen, select which users will be members of the Group and what their editing privileges will be. This is done by clicking on the icon next to the user's name.
= Restricted (the user will be prevented from making any changes)
= Editor
= Author
= Reader
) |
| New Group Wizard step 2a - User Members |
After User Members have been selected, select the pages that will be members of this Group. Hit the Next button.
) |
| New Group Wizard step 2b - Page Members |
Finally, specify the user account designated as the Group Manager (this person must already be an Editor for this group or an Administrator). The Group Manager will receive email notifications when Authors submit content changes for approval. Hit the Finish button to complete group set-up.
) |
| New Group Wizard step 3 - Group Manager |
Groups can be deleted or changed by simply selecting the group from the Groups list and right-clicking. Members and Properties bring up the appropriate configuration screen, allowing you to edit members and properties for the group.
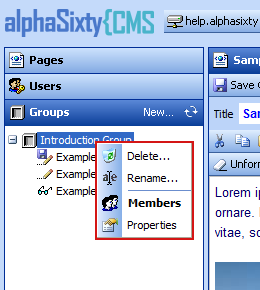 |
| Group context menu |